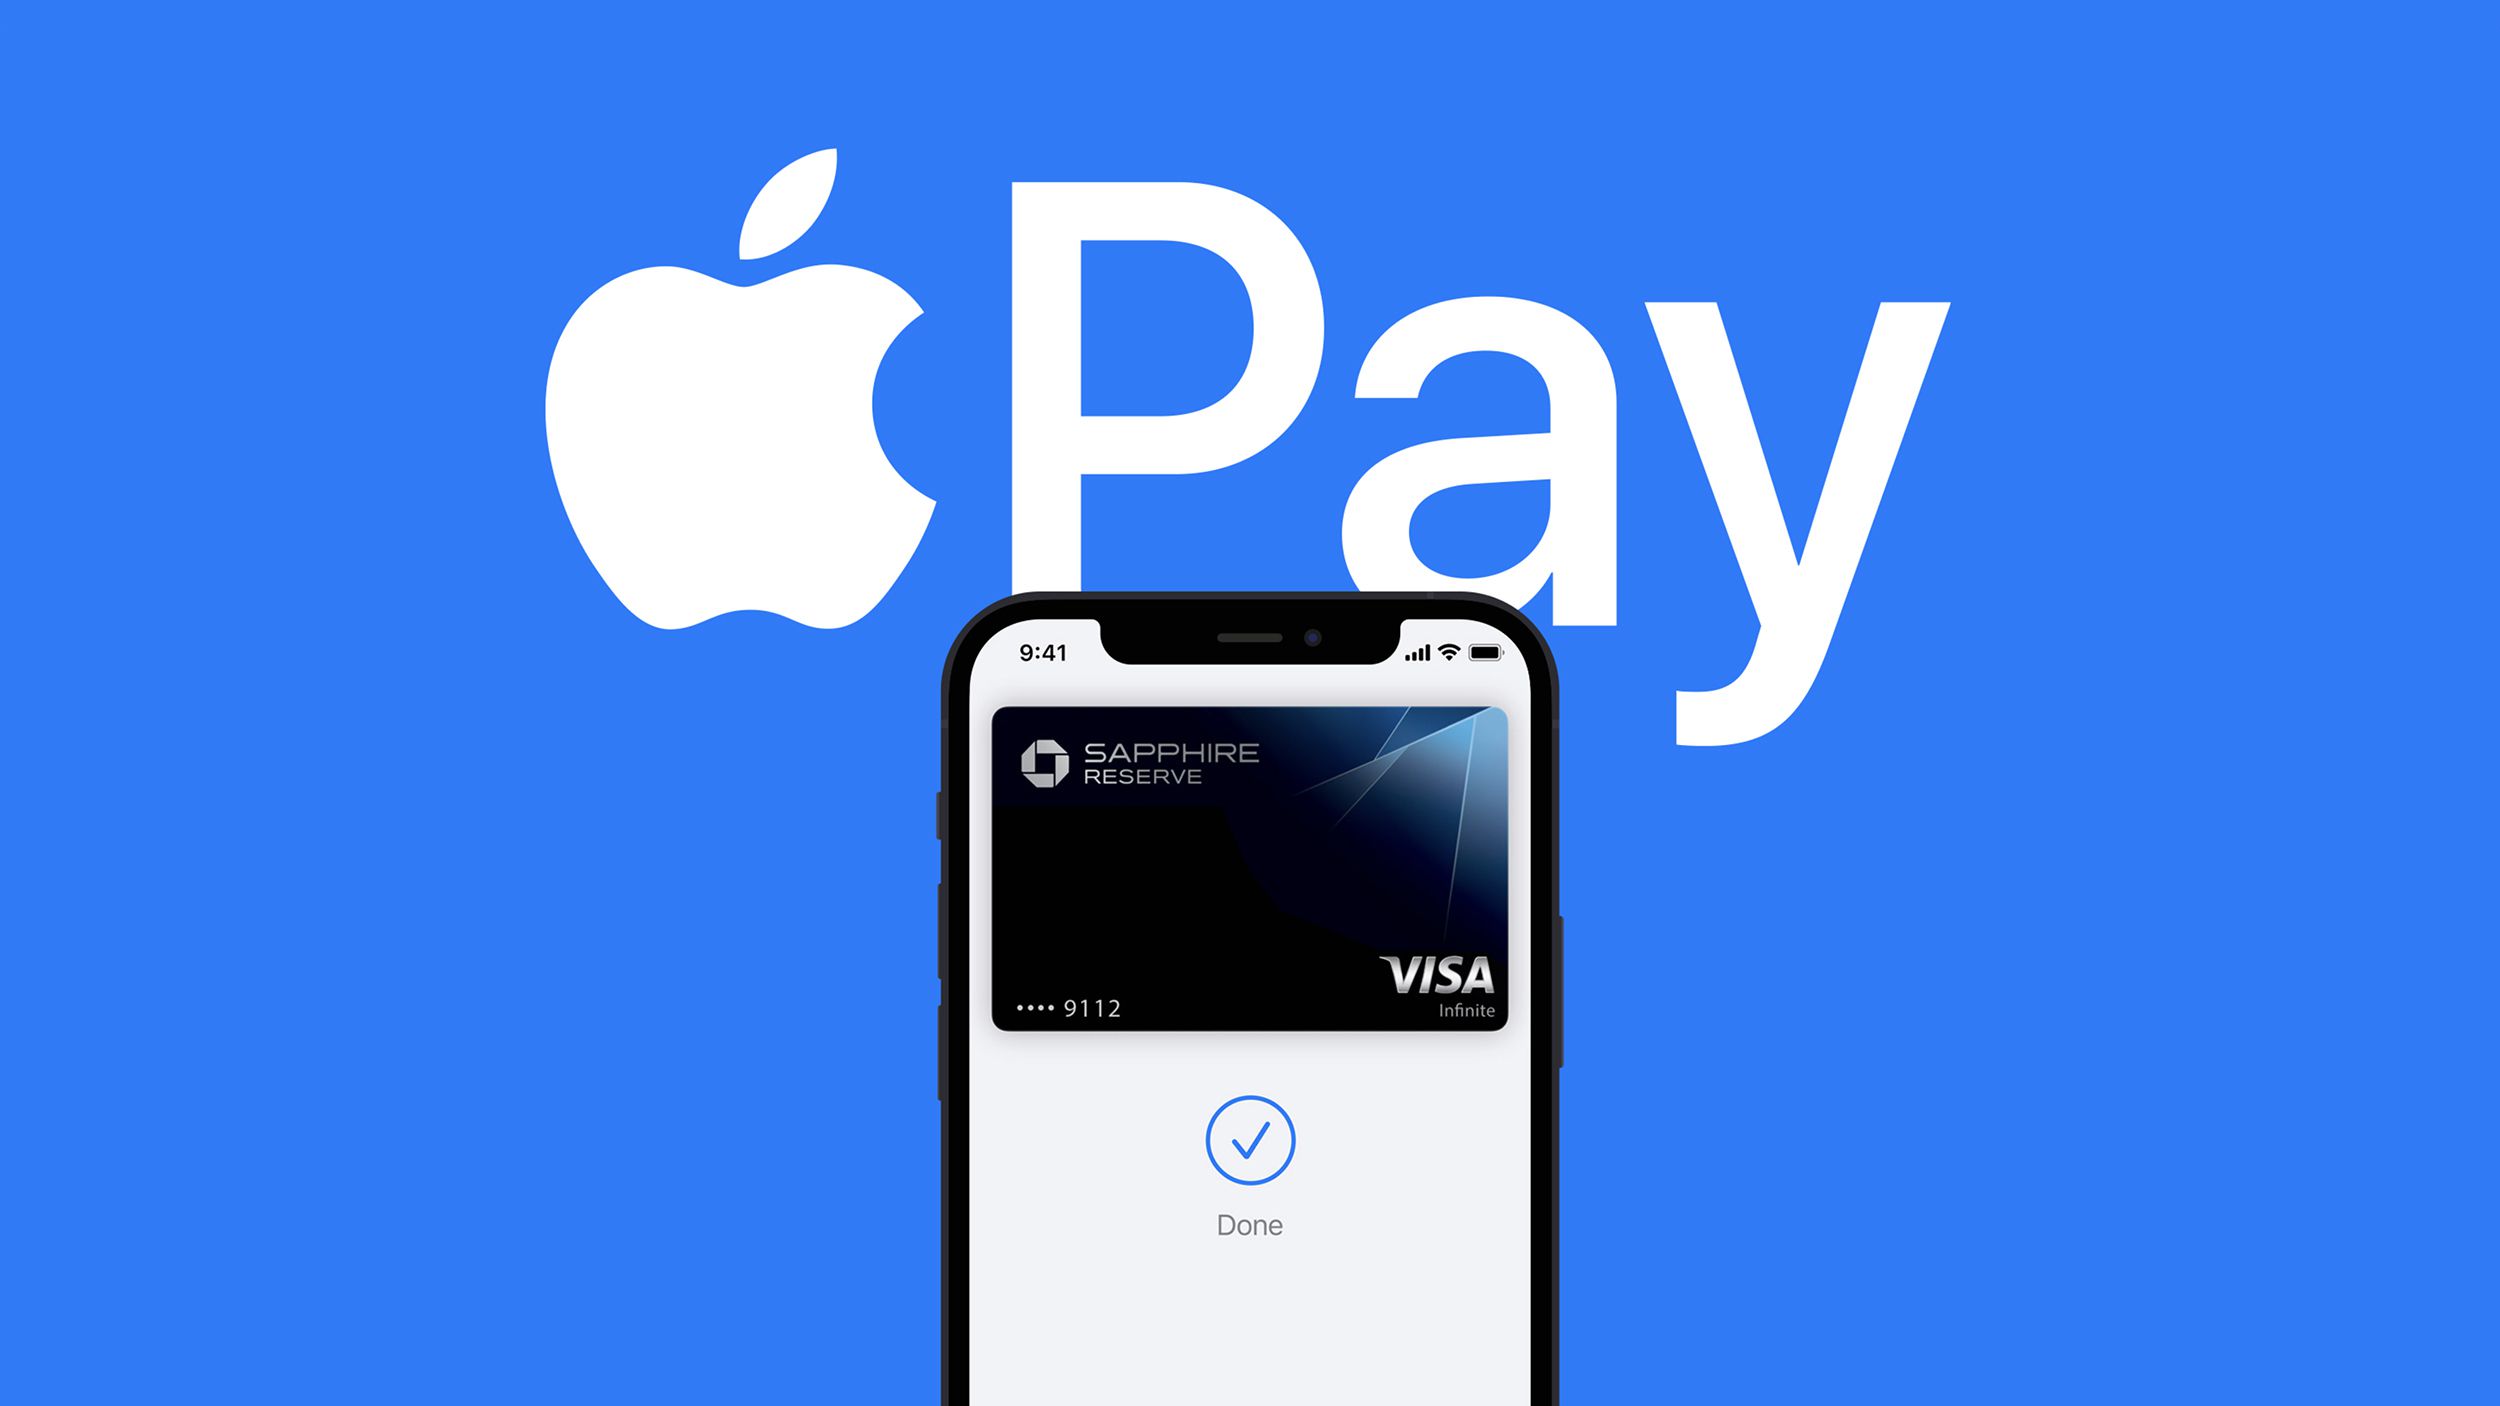
Using Apple Pay can transform your iPhone into a digital wallet, making credit card purchases so easy that you don’t even have to pull out your physical wallet from your pocket or purse.
However, although the Apple payment method rapidly becomes second nature, there may be a learning curve, and the learning curve can be high enough that individuals, after a first blunder, may decide to abandon it altogether.
But Apple Pay is a fantastic option for simple and secured payment if you know how to set up Apple Pay. In this guide, we will tell you how to set up the Apple Pay app without breaking a sweat!
Read Here: Top Banks In India For Higher Interest Rates With Lesser Security Concerns
What Is Apple Wallet?
iPhone users can use Apple Wallet, formerly known as Passbook, which is a built-in app that allows them to digitally store and use rewards cards and coupons as well as movie tickets, event tickets, boarding passes, public transit passes, student IDs and credit, debit, prepaid and loyalty cards through Apple Pay.
But there are a few things that you need to be aware of before knowing how to use Apple Pay. We have listed those points in the next section.
Things To Consider Before Knowing How Use Apple Pay:
- If you use Apple Pay cash in conjunction with a debit card, the transaction is completely free.
- If you choose to pay with a credit card, you will be required to pay a normal 3 per cent credit card fee on the amount charged.
- When utilising Apple Pay Cash, you will be requested to authenticate your identity several times along the process. Otherwise, you will not be able to enjoy the full capabilities of Apple Pay Cash. You must complete this process.
- If you transfer more than $500 in Apple Pay Cash transactions, you will be required to provide identification.
- You are permitted to send a total of up to $3,000 in one transaction. For the time being, it is only accessible in the United States.
Now we will learn how to set up the Apple Pay app.
How To Set Up Apple Pay On iPhone?

You must activate two-factor authentication for your Apple ID in order to use Apple Pay Cash. Furthermore, you must have a credit or debit card linked to your Apple Wallet in order to use it.
Make sure you have an iPhone 6 or newer with iOS 11.2 or later installed on it. WatchOS 4.2 or later must be installed on the Apple Watch with which you are linked.
- Launch the Settings application on your iPhone.
- Wallet & Apple Pay are the next two options you must choose. To activate Apple Pay Cash, press the button that’s immediately next to it on the control panel.
- Select the Apple Pay Cash card from the drop-down menu.
- After that, you must press the Continue button. After that, you must agree to the terms and conditions.
Your Apple Pay Cash card will be generated at this point. Lastly, you must link it to your bank’s debit card in order for it to function properly. In order to do so, you must use the camera on your iPhone to scan your Debit card.
That’s all there is to it! Apple Pay cash is correctly activated on your smartphone, as you have indicated.
Read Here: Choosing The Best Portable Printer In 2022
Straightforward Method Of How To Send Money Through Apple Pay:
If you’ve recently purchased a new iPhone, you’ll have the opportunity to add cards to Apple Pay as part of the setup process. Incredibly easy, adding cards is as follows: just place the real card where the iPhone camera can see it, and the card’s number, name, and expiration date will be read and shown on the iPhone screen as if by magic.
You just input the card verification number, and you’ll be asked to authenticate your identity by entering a code that will be supplied to you through text message, for example. It’s possible that you’re upgrading from an older iPhone and are using the super-smooth method that’s been around since iOS 11, in which you hold one iPhone in front of the other and then leave the two handsets to get on with transferring data.
In this scenario, you will see that the card information is already there, and you will just need to activate them at that point. This was the straightforward method of how to send money through Apple Pay.
Why Use Apply Pay Instead Of A Physical Card?
To make a payment using Apple Pay, you don’t even have to carry your real wallet around with you. Because the card in your iPhone wallet does not display your whole card number, it also provides a security benefit in that regard.
How To Set Up Apple Pay On iPads?
- Open the Settings app on your iPad and choose General.
- To add a card, scroll down to locate and pick “Wallet & Apple Pay,” followed by “Add Card.”
- On the Apple Pay set-up screen, choose “Continue” to proceed.
- You may add a new card in one of two ways: by following the procedures outlined below. Make use of your iPad’s camera to scan the face of your card or manually input the card information (name and card number). Then press the “Next” button.
- Enter the card’s expiry date and security code, and then press “Next” to proceed.
- Read the terms and conditions and indicate your acceptance of them.
- Choose a means of verification, such as email, text message, or phone call, and input the verification code when requested. Then press the “Next” button.
- Apple Pay will validate your details with your bank or card issuer, and after your card has been confirmed, you may go to the next step to begin using it.
How To Set Up Apple Pay On Watch?
- Open the Watch app on your iPhone and choose the My Watch option from the drop-down menu.
- Select “Wallet & Apple Pay” from the drop-down menu, then “Add Card.”
- On the Apple Pay set-up screen, choose “Continue” to proceed.
- You may add a new card in one of two ways: by following the procedures outlined below. Utilize your iPhone’s camera to scan the front of your credit card or manually input the card information (name and card number). Then press the “Next” button.
- Enter the card’s expiry date and security code, and then press “Next” to proceed.
- Read the terms and conditions and indicate your acceptance of them.
- Choose a means of verification, such as email, text message, or phone call, and input the verification code when requested. Then press the “Next” button.
- Apple Pay will validate your details with your bank or card issuer, and after your card has been confirmed, you may go to the next step to begin using Apple Pay.
How To Send Money With Apple Pay Using iMessage?
- Sending and receiving money with Apple Pay Cash is a simple process after the app has been configured.
- Launch Messages and start a chat with someone.
- At this point, you must choose the App Store icon from the menu bar.
- In the iMessage App Drawer, choose the Apple Pay symbol from the drop-down menu.
- Following that, you must press on the dollar symbol and input the appropriate amount of money.
- Then, depending on whether you want to transfer money or receive money, choose the appropriate option.
- After you complete step #5, you should get a preview of the text box. To send a message, use the Send button.
- Finally, if you are transferring money, you will be required to validate your identity using your Face ID or Touch ID.
How To Transfer Apple Cash To Bank?
When using Apple Pay Cash, you may transfer a maximum of $3,000 each transfer ($20,000 total during a seven days period) from your bank account to another account. We have listed the steps of how to transfer Apple cash to the bank by using the following steps:
- Open Wallet on your iPhone and enter your PIN.
- Select your Apple Cash card from the drop-down menu.
More information may be found by using the More button (black circle with three dots). iPad owners should be aware of the following: Open the Settings app and choose Wallet & Apple Pay from the drop-down menu. After that, choose your Apple Cash card from the drop-down menu.
- Then choose Transfer to Bank from the drop-down menu.
- Fill in the amount you’d like to transfer in the appropriate field. Then press the Next button.
- Select 1-3 Business Days from the drop-down menu. Note: If you haven’t already done so, follow the on-screen steps to set up (or add) a bank account.
- Face ID, Touch ID, or a password may all be used to confirm the transfer.
After that, the money will be transferred within one to three business days. In most nations, business days are defined as every day, excluding Saturday, Sunday, government holidays, and other special days when banks are required to shut down by law or by decree of the government.
Now let us learn about Apple card support.
How To Contact Apple Pay Support If Unable To Transfer Apple Cash Funds:
- A Wi-Fi or cell phone data connection on your device is required.
- Open Settings General Software Update on your iPhone or iPad to see if there are any software upgrades available. If there are any outstanding updates, be sure you download and install them.
- When using a Visa debit card, contact the issuer (most likely your bank) and inquire whether your card is approved for the programme.
- If you want to make a bank transfer, you should use a bank account in the United States that is suitable. Also, double-check that you’ve put the right account and routing information into the system (while adding bank details).
- When using a Visa immediate transfer, the billing address you provide must match the information on the debit card you have chosen.
- The amount of the transfer should not exceed the restrictions (mentioned above). The smallest amount that may be sent to your card or bank account is $1. If, on the other hand, your total Apple Cash card amount is less than $1, you may transfer the full sum.
- Finally, if you are still unable to make a money transfer, you may be required to provide identification. Additionally, you may wish to get in touch with Apple customer service.
Learn How To Set Up Apple Pay & Go Cashless:
Apple Wallet is supported by millions of companies, ranging from your neighborhood coffee shop to international airlines that fly you across the globe. It’s crucial to note that each app and service is unique, but the following are the basic principles for adding a pass to your Apple Wallet, such as a loyalty card, discount, or boarding pass.
